How to restore your Windows 10 computer to its factory settings
Windows computers are rarely quicker and easier to use than the day they ship from the factory.
Over time, the accumulation of files, misconfigured settings, and other factors slows down performance and impacts programs. If you find that your applications don’t run the way you expect, and opening and saving files takes longer than usual, you may want to turn back the clock.
An even more advanced option is to purchase a network-attached storage (NAS) device that can be connected to your router and accessed by all of the machines on your network. A NAS device with mirrored drives lets you copy and back up all of your information scattered around in single, relatively reliable place that can even be easily removed in the case of emergency.
Whichever route you choose, configure your backup software to save to your chosen drive. Then, it’s important to make sure to disconnect your backup drive before you actually perform the Windows 10 reset. The following process shouldn’t delete data on a secondary drive, but it’s better to be safe than sorry. We’ve broken the guide down below based on your current operating system.


Over time, the accumulation of files, misconfigured settings, and other factors slows down performance and impacts programs. If you find that your applications don’t run the way you expect, and opening and saving files takes longer than usual, you may want to turn back the clock.
In addition, you might want to sell your Windows 10 machine or give it to someone else to use. In that case, you’ll want to make sure that all of your personal information and applications are removed to protect your privacy. Fortunately, there’s a relatively easy way to start over with Windows 10: the Windows 10 reset function. Here’s how to return Windows 10 to its most pristine state.
First, back up your stuff!
Before you reset your system, you’ll want to back up important information that you don’t want to lose. This includes documents, photos, music, and movies, but there are other items to back up as well. Make sure that you know all of your saved passwords, export all of your browser bookmarks, and have installation files for all the software you’ll want to reinstall — or know where to get them.Also, make sure you back up app-specific data, like custom filters saved in a photo utility and save files from your favorite games. If you use Microsoft Outlook, you’ll want to export your email file as well so that you can back it up.


While you can backup these files manually, you may be better served by using backup software that automates the process, reducing the room for error and saving you time. You might be able to use the cloud for this, but there’s a great chance that the volume of data will exceed the capacity of a free Google Drive (15GB) or DropBox (2GB) account. If you’re willing to spend some money on a monthly basis, then you can go with a dedicated cloud backup solution like Carbonite.
Even cloud services can have issues, however, and so it’s not a bad idea to budget for an external hard drive if you don’t already have one. The best option is an external drive enclosure that holds two drives that can be mirrored, so that if one drive fails you have a backup. You can also use a non-OS internal drive in a desktop if enough space is available.
An even more advanced option is to purchase a network-attached storage (NAS) device that can be connected to your router and accessed by all of the machines on your network. A NAS device with mirrored drives lets you copy and back up all of your information scattered around in single, relatively reliable place that can even be easily removed in the case of emergency.
Whichever route you choose, configure your backup software to save to your chosen drive. Then, it’s important to make sure to disconnect your backup drive before you actually perform the Windows 10 reset. The following process shouldn’t delete data on a secondary drive, but it’s better to be safe than sorry. We’ve broken the guide down below based on your current operating system.
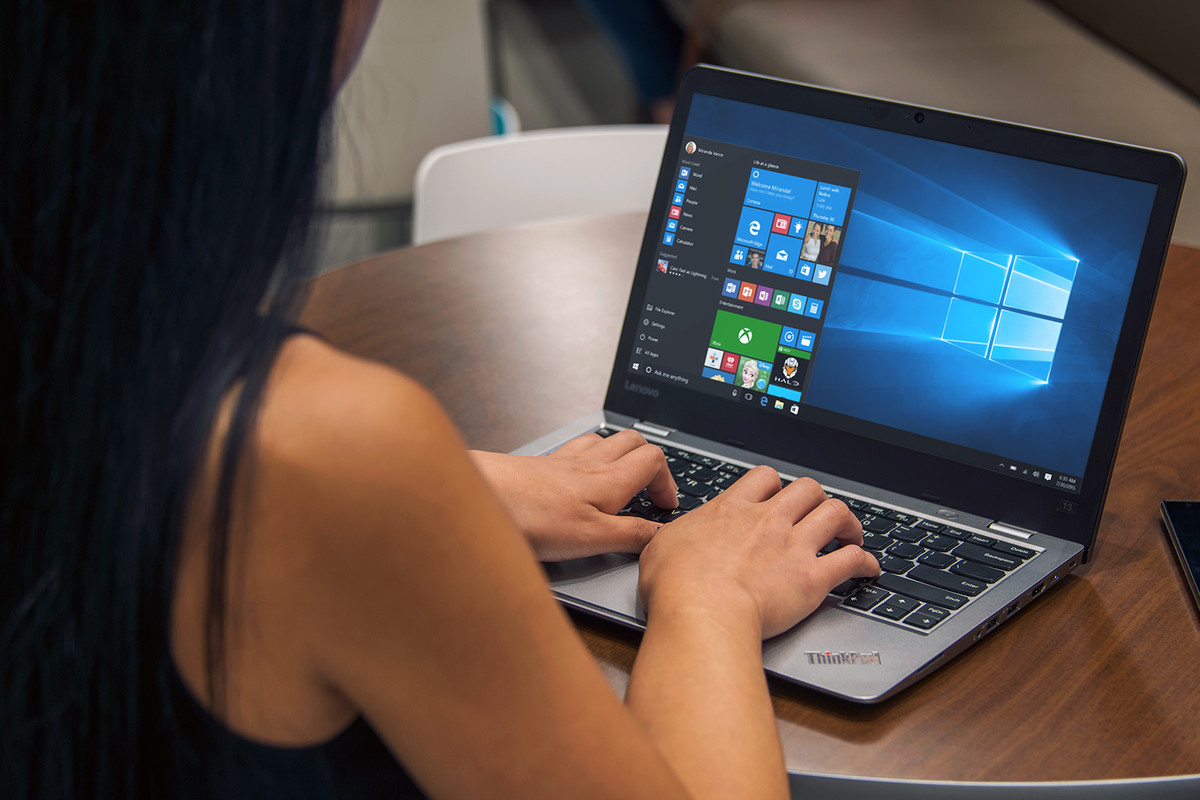
WINDOWS 10
Windows 10’s reset feature is found in the primary Settings menu. This feature returns your Windows 10 installation to the default state it was at when Windows 10 was first installed. Note that this might be different from a “factory reset” depending on your machine’s manufacturer.
Check your documentation or give technical support a call if you want to return your PC to how it was when you first pulled it out of the box. The manufacturer might have special partitions set up on the hard drive or might be able to provide a factory restore image.
If resetting Windows 10 itself is what you’re looking for, then get started by clicking the Notifications icon on the taskbar or pressing the Win button + A. Click “All settings.”

From this screen, click “Update & Security,” then click “Recovery.

“Reset this PC” is what we’re looking for.

Notice that there are two other options listed here. The first, “Advanced startup,” is for modifying your computer on a deeper level or installing a completely different operating system. For example, if your manufacturer provides a factory restore image, then you would click “Restart now” to boot to a USB or other external drive containing the image to return your machine to its factory state. Unless you’re completely sure you understand what each of the options in this setting does, it’s probably best to leave it alone. If you’re more technically inclined, however, then this option provides access to some advanced options that can give you more control over your machine.
The second option, “Go back to an earlier build,” is to help you recover from a major Windows 10 update, or build, that’s causing problems. Selecting this option will take your machine back to the previous build that was on the machine. As the description indicates, if your machine was upgraded more than 10 days prior, then you won’t be able to return to the last build. Your only option at that point would be to reset Windows 10 as we’re describing here or go the factory restore route.
If you’re ready to get started with your Windows 10 reset, then click “Get started.” A new window will appear with two options, “Keep my files” and “Remove everything.”

The descriptions are pretty self-explanatory. “Keep my files” will keep things like your saved documents, photos, and music files intact, but otherwise completely reset Windows 10 to its original state. All of your applications will need to be reinstalled, and your settings, such as your Start menu, will go back to the defaults.
“Remove everything,” on the other hand, will completely wipe your machine and keep only a default installation of Windows 10 itself. You’ll want to make sure you have access to all of your applications if you choose this option, and make notes of your settings so that you can duplicate them when the process is complete.
Make your selection, then wait for your PC to get ready. If you chose “Keep my files,” skip the next paragraph.
If you chose “Remove everything,” you now have the option to “Just remove my files” or “Remove files and clean the drive.” The second option formats the drive itself, and it’s better if you’re planning on selling or giving away your computer. It takes much longer, so if you’re just resetting the PC for yourself, choose the first option.

If your computer has multiple internal drives, you’ll also have the option to wipe only the primary drive (the one with Windows) or all the connected drives. Click on “Show me the list of drives that will be affected” to know exactly what will be included in the reset process.

If you chose “Keep my files,” on the next screen the system will display a list of conventional programs installed on your computer (ones not installed from the Windows Store). This list will be saved to your desktop when you finish the recovery process. Click “Next.”

Once you’ve gone through the steps in preparing for the reset, you’ll be presented with the final choice. Click “Reset” to proceed.

Your PC will reboot automatically and begin the reset process. This might take an hour or more, so if you’re using a laptop it’s a good idea to plug in the power cord. It may reboot itself several times. Wait for Windows to restart and begin the setup process, then enter your personal information, log in, and begin setting up your refreshed PC.

POST-RESET CHORES
You may think that you’re done after you perform your factory reset, and in a general sense that’s true. Your computer may work very well in its factory state. However, most systems are improved over time by new hardware drivers, which you may have had installed on your system. They’ll now be gone and, in some cases, certain hardware may not work at all until the appropriate driver is installed. If you’re using Windows 10, simply head to the Updates tab in the Settings and your system should grab most of what it needs from the Microsoft servers, including chipset, GPU, and peripheral drivers.

You can often download these drivers by visiting the system manufacturer’s support page, and searching for your specific system. This is where you’re most likely to find motherboard and adapter drivers, as well as drivers relating to specific system functions (controlling display brightness via keyboard shortcut on a laptop, for example).
If you have a discrete graphics card, you’ll also want to visit AMD or Nvidia’s website (depending on who made your GPU) and download new drivers. These usually aren’t posted on manufacturer support pages.
Finally, install the drivers for any peripherals you use with your system. These will not be installed since they didn’t ship from the factory with your PC.
Conclusion
This is everything you need to know about restoring Windows to its initial state. Hopefully, the process has improved performance and decluttered your drive, or prepared it for passing along to someone else. If you’re still having problems, it may be because of faulty hardware or, if your system is getting on in years, then you may want to upgrade or replace it entirely.


0 comments:
Post a Comment